Preparedness
Transform Your Homestead With a Wind-Powered Irrigation Revolution
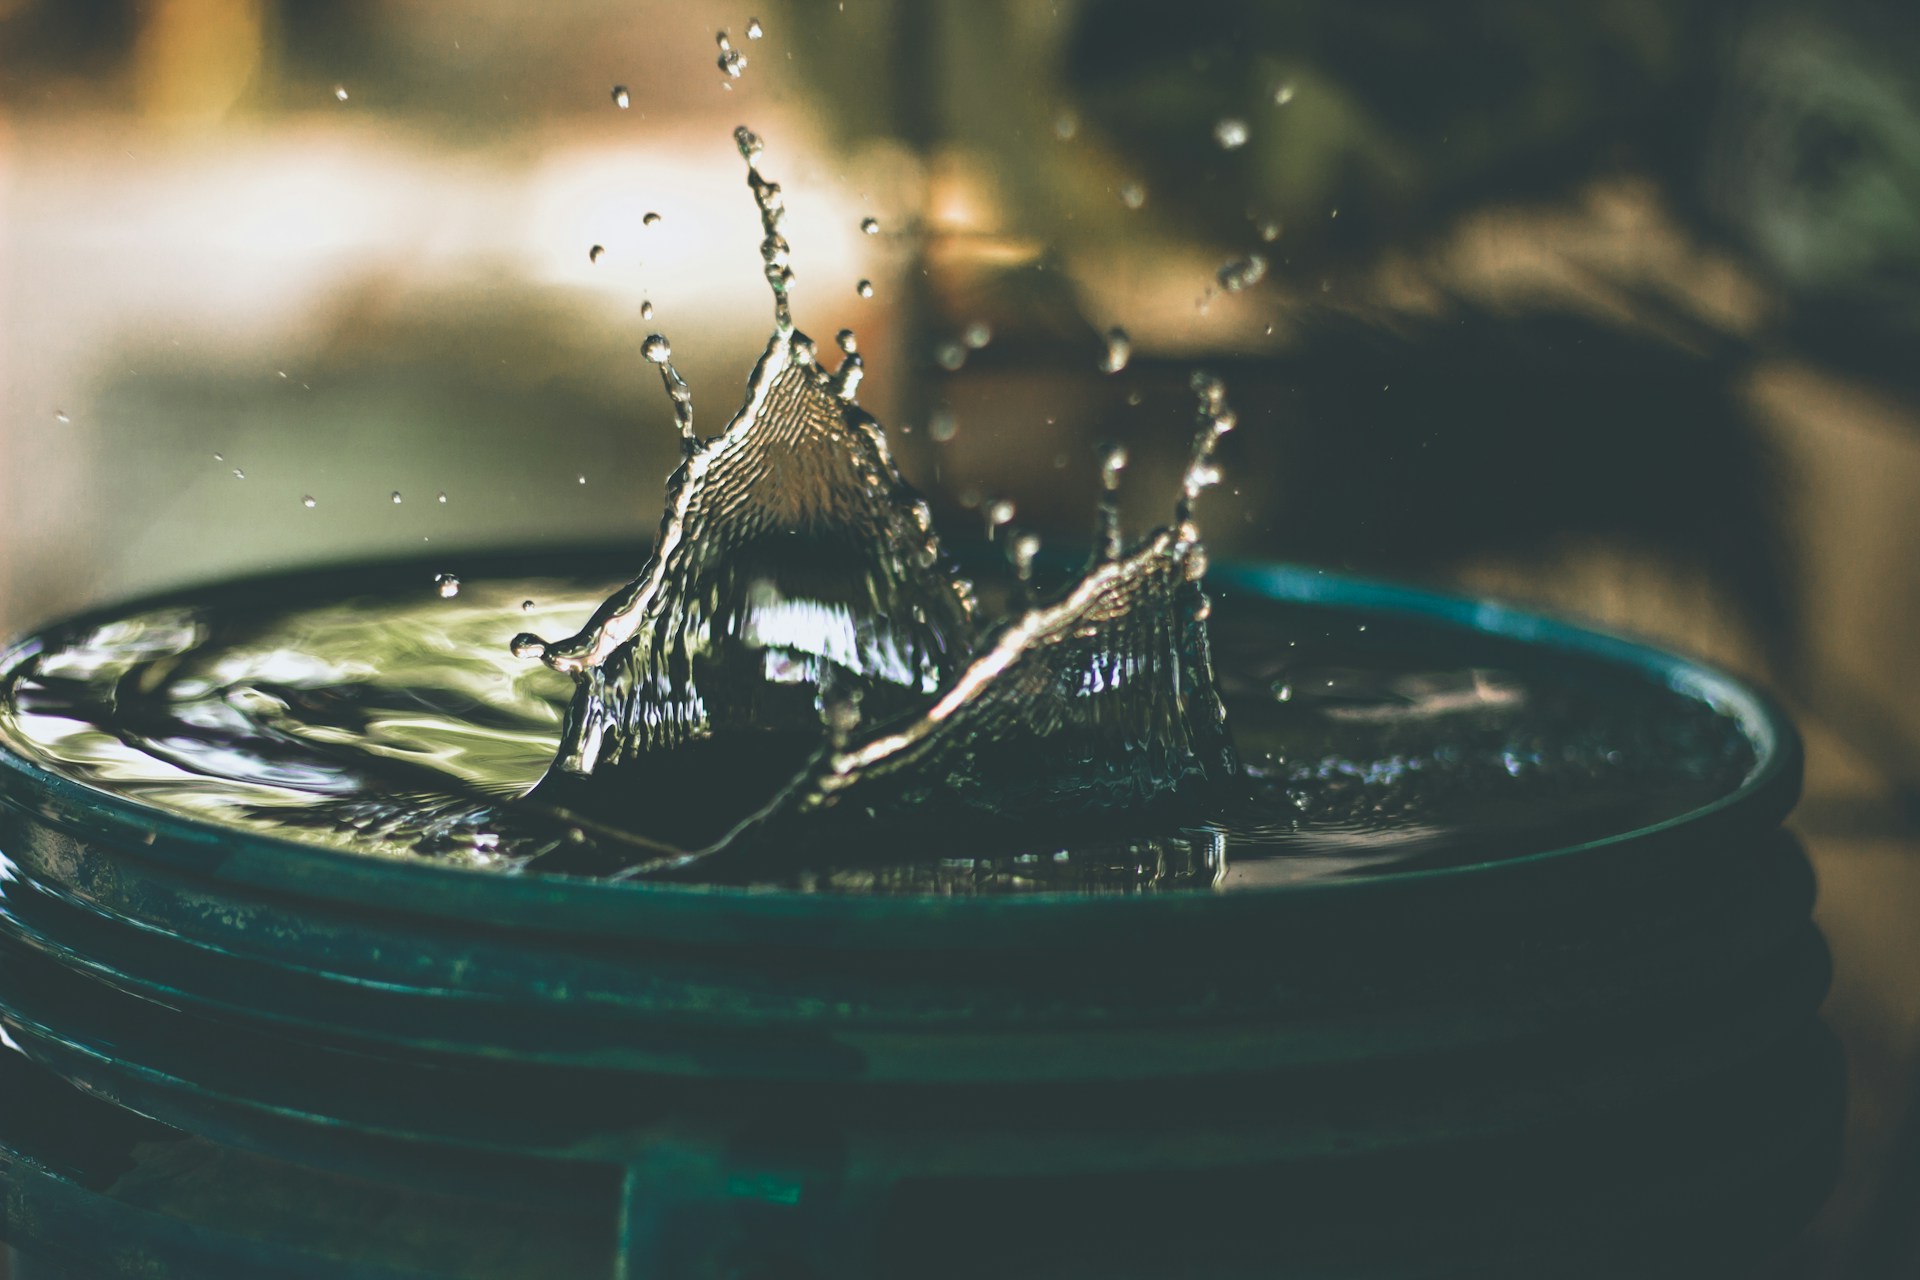
Harnessing the power of the wind to fuel a water pump for irrigation can be a game-changer for any homestead. This approach not only reduces energy costs but also supports sustainable farming practices by minimizing reliance on non-renewable energy sources.
A wind-powered water pump operates by converting the kinetic energy from wind into mechanical energy. This mechanical energy is then used to drive a pump, typically a reciprocating piston pump, which draws water from a source such as a well or pond and directs it to the irrigation system.
To begin, assessing the wind conditions at your site is crucial. “Use an anemometer to measure wind speed over a period to ensure the location gets consistent wind.” This data will help determine if your location is suitable for this type of system.
The placement of your windmill is another important consideration. Higher elevations are often more exposed to wind, making them ideal locations. Ensure the area is clear of obstructions and accessible for maintenance. Additionally, proximity to the water source is key, as it enhances the system’s efficiency.
When selecting a windmill, size and type are important factors. Larger windmills can pump more water but require stronger winds. For areas with low-to-moderate wind speeds, “American-style, multi-blade windmills are ideal.” These are known for their durability in various conditions. In contrast, wind turbine-style windmills are better suited for regions with high winds.
Material selection is critical, particularly in humid or salty environments. Corrosion-resistant materials will ensure the longevity of your system. The pump’s capacity should align with the windmill’s power output, and for deeper wells, a deep-well piston pump may be necessary.
The tower supporting the windmill must be robust, made from galvanized steel or treated wood, and anchored with a solid foundation, typically concrete. The height of the tower should allow the windmill to clear nearby obstructions by at least 15 feet.
Installation involves assembling the windmill on the ground, then hoisting it onto the tower using a crane or pulley system. It’s essential that the windmill can rotate freely to face the wind, with all moving parts well-lubricated.
Connecting the windmill to the pump involves using a rod or shaft to transfer rotational energy. Durable, weather-resistant piping should be installed from the pump to both the water source and the irrigation system. Depending on your crop needs, you can choose between drip irrigation, sprinklers, or soaker hoses.
Regular maintenance is vital for the longevity of your system. “Conduct regular inspections of the windmill, tower, and pump. Look for rust, wear, and loose components.” Immediate repairs will prevent further damage.
To ensure a continuous water supply during low wind periods, installing a water storage tank is advisable. Ideally, place the tank at a higher elevation to facilitate gravity-fed irrigation.
Finally, water conservation techniques such as mulching and using soil moisture sensors can help reduce water waste. Timing irrigation during cooler parts of the day will also minimize evaporation, ensuring your crops receive adequate hydration.
By implementing these strategies, you can create an efficient, wind-powered irrigation system that supports both your agricultural needs and environmental conservation efforts.
Let us know what you think, please share your thoughts in the comments below.

For those dedicated to homesteading or simply caring for beloved pets, safeguarding the well-being of your animals is paramount. In survival scenarios, animals are just as susceptible to injuries as humans. It’s not a question of “if” but “when” they might get hurt. Therefore, incorporating a comprehensive first-aid kit for your livestock or domestic animals is crucial.
To ensure you’re fully prepared, here’s a checklist of essential items that should be part of your animal first-aid arsenal. If these items aren’t in your kit yet, don’t fret—it’s never too late to start.
Maintaining cleanliness is vital, especially when administering first aid. Saline solution is an excellent choice for cleaning your hands before and after tending to wounds. Additionally, it effectively clears the wound area, allowing you to assess the situation more clearly.
Following saline solution, an antibacterial solution is a must-have. Use it to clean wounds and prevent infections caused by bacteria. It also serves to sanitize your hands or any tools that come into contact with the animal’s injury.
It might seem like common sense, but don’t overlook the importance of gauze. Gauze and bandages are essential for covering open wounds, cuts, scrapes, or burns.
Once the wound is cleaned, it should be covered to prevent further bleeding and keep out dirt and germs. Ensure you have enough gauze and bandages for several days, as they require frequent changing. Stock up according to the number and size of your animals, and always add a bit more than you think you’ll need.
Spray dressing is another convenient addition to your first-aid kit. Animals are notorious for not sitting still, making it challenging to apply contact dressings.
Spray dressing offers a no-contact solution for treating minor scrapes and cuts in hard-to-reach areas or when an animal refuses to stay put. It also has antibacterial properties and aids in scabbing.
Animals have a knack for eating things they shouldn’t, which can sometimes lead to serious harm. In such cases, activated charcoal can be a lifesaver.
Available in pet-specific tablets, activated charcoal acts as a sponge for toxins ingested by your animal. If administered correctly, it can neutralize many poisonous substances. Even if your animal shows improvement, it’s crucial to contact a vet immediately.
Injured animals experience pain similarly to humans, which can make them difficult to manage. Animals react differently to pain, often becoming skittish and potentially aggressive.
Having a spare leash, muzzle, or other restraint can be invaluable for keeping an animal still while you administer treatment. Although restraining an animal is not ideal, it may be necessary to prevent them from exacerbating their injury.
Lastly, a pair of tweezers is an essential tool in your livestock first-aid kit. Tweezers are perfect for removing splinters, particularly since animals don’t wear shoes and are more prone to stepping on sharp objects.
A good pair of tweezers allows you to extract foreign objects from paws more efficiently than using your fingers, while also maintaining hand hygiene.
When planning for emergencies, always consider your animals’ needs alongside your own. You can purchase pre-made kits online or gather individual items for a custom kit.
Either way, ensure you are prepared for those who can’t prepare for themselves.
Let us know what you think, please share your thoughts in the comments below.
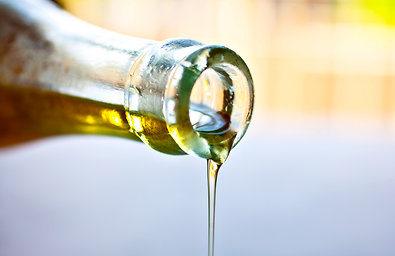
In today’s unpredictable world, knowing how to produce your own cooking oil can be a valuable skill. Whether you’re interested in crafting homemade soap, candles, or body oils, or simply want a reliable source of cooking oil, understanding the process of oil extraction is essential. Fortunately, this hands-on activity is both enjoyable and requires minimal equipment.
The first decision in this endeavor is selecting the type of oil you wish to produce. A variety of nuts and seeds are available, but your choice should be influenced by your climate and intended use. For an affordable and versatile option, sunflower seeds stand out. Specifically, the black oil sunflower seeds, often used in birdseed, are highly efficient, yielding about a quart of oil from a 2-liter bottle of seeds. Additionally, the leftover seed material can serve as a nutritious treat for chickens and goats.
To maximize your resources, consider planting sunflower seeds instead of using them directly for oil extraction. Sunflowers are resilient, requiring little space and water, and by saving some seeds, you can cultivate a continuous supply without purchasing new ones. When the sunflower heads droop and petals fall, it’s time to harvest. Simply cut the heads, hang them to dry, and use a durable cloth to extract the seeds.
If you’re inclined to explore other options, various nuts and seeds offer different yields and flavors. While pumpkin and sunflower seeds might not produce as much oil as nuts, they are cost-effective and easy to grow. Experimenting with different seeds can lead to discovering unique flavors, such as cucumber seed oil for a distinctive vinaigrette.
Investing in an oil press is a practical step for home production. Although they were once pricey, small presses are now available for around $150, with used options even cheaper. The Dutch brand Piteba is a popular choice and can be found online. Alternatively, you can construct your own press, which consists of a funnel for seeds, a crank, a heating section, and exits for both oil and pulp.
After each use, it’s crucial to clean your press thoroughly to prevent oils from going rancid. Begin by filling the heating unit with the recommended flammable substance and lighting it. Allow it to heat for about 10 minutes, then pour your seeds into the hopper. Cranking for approximately 20 minutes will yield around 14 ounces of oil, equivalent to a 2-liter bottle of seeds.
Once extracted, the oil may appear black if using black oil sunflower seeds. Allow it to settle for a few days, then siphon off the clear oil, discarding the sediment. Properly stored in a tightly-sealed container in a cool, dry place, your oil can last up to two years.
Different oils have varying shelf lives, but most seed and nut oils remain viable for 1-3 years. Rancid oil will change in color and emit an unpleasant odor, making it unsuitable for use. With this knowledge, you can produce high-quality vegetable oil for cooking or as a base for various homemade products.
Let us know what you think, please share your thoughts in the comments below.

When preparing for a potential crisis, most people focus on tangible necessities like food, water, medical supplies, and shelter. However, mental and emotional readiness is just as critical. Keeping a clear mind is arguably your most powerful tool when disaster strikes. In chaotic situations, it’s easy to become anxious, paranoid, or even depressed, so it’s essential to equip yourself mentally and emotionally.
John Leach, in a study found on the University of Dallas website, explored how different people react in survival situations. He discovered that aside from the well-known “fight or flight” response, some individuals experience a “freezing” reaction. Leach observed instances where people, faced with life-threatening scenarios such as plane crashes or sinking ships, became immobilized, unable to act even when escape was possible.
In contrast, those who adopt a “goal-oriented mode” during crises tend to have better survival outcomes. These individuals focus on a specific objective, such as reaching safety, and work systematically towards it. Others, overwhelmed by the flood of stimuli, may lose sight of their primary goal, decreasing their chances of survival.
Maintaining composure in such scenarios is a skill that can be learned and honed. The Navy Seals, renowned for their ability to remain calm under pressure, use breathing exercises to manage stress. “Box breathing” involves inhaling, holding, exhaling, and pausing in four-second intervals. This technique helps regulate the body’s stress response, promoting rational thinking and enabling better recall of survival skills.
Ollie Ollerton, a former SAS member, emphasizes the importance of focusing on critical tasks when under pressure. He notes, “We are only able to hold about five and nine pieces of information in our brain before we may start to get confused, making incorrect decisions. When we are under pressure, that figure plummets down to just one or two.” Therefore, identifying and addressing the most pressing needs is crucial.
In dire situations, finding motivation can seem daunting. Viktor Frankl, a Holocaust survivor and psychiatrist, developed “logotherapy,” which centers on the human quest for meaning. Frankl found that even in the harshest conditions, people seek a purpose, whether through completing tasks, engaging in experiences, or choosing their response to suffering. Logotherapy has proven effective in helping individuals cope with stress, anxiety, and PTSD.
Mental preparation for survival is challenging because it cannot be stored or packed away like physical supplies. It relies entirely on personal attitude and mindset. While you may not control the events around you, you can control your reactions. This self-awareness is the first step toward maintaining your sanity when faced with disaster.
While physical preparedness is crucial, mental resilience is equally vital. Developing the ability to stay calm, focused, and purposeful can make the difference between survival and succumbing to chaos when the unexpected occurs.
Let us know what you think, please share your thoughts in the comments below.
-

 Tactical1 year ago
70-Year-Old Fends Off Intruder with Lead-Powered Message
-
 Tactical1 year ago
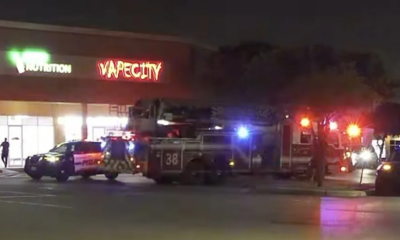
Vape Shop Employee Confronts Armed Crooks, Sends Them Running
-

 Preparedness9 months ago
Ex-Ballerina’s Guilty Verdict Sends Tremors Through Gun-Owner Community
-

 Preparedness7 months ago
Good Samaritan Saves Trooper in Harrowing Interstate Confrontation
-

 Tactical1 year ago
Midnight SUV Theft Interrupted by Armed Homeowner’s Retaliation
-

 Survival Stories2 years ago
Emily’s 30-Day Experience of Being Stranded on a Desert Island
-

 Preparedness8 months ago
Arizona Engineer’s Headless Body Found in Desert: Friend Charged
-

 Preparedness8 months ago
Boy Saves Dad from Bear Attack with One Perfect Shot
Michael VonTungeln
January 16, 2025 at 10:33 pm
This sounds a lot like the windmills we used back in the 1950’s and 1960’s to fill water tanks for cattle to drink.