Preparedness
Medical Preparedness: Beyond the Basic First Aid Kit

When preparing for medical emergencies away from home, many people stop at purchasing a first aid kit. While these kits serve as a good foundation, they often fall short of comprehensive preparedness.
To truly be ready, it’s crucial to start by taking a basic first aid course. These courses are generally affordable and sometimes even free through civic groups or employers. Typically lasting 6-8 hours, they are designed with the assumption that Emergency Medical Services (EMS) are readily accessible.
However, for those who anticipate being in more isolated or challenging environments, a wilderness or remote first aid course is highly recommended. These courses, usually spanning two days, cost around $200, though community colleges may offer more economical options. They are tailored to equip you with the skills needed to handle medical emergencies when EMS could be delayed by up to 8 hours.
Pet owners should also consider a basic first aid course for dogs and cats. Larger pet stores often provide in-person classes, and the Red Cross offers online options for both pet and human first aid.
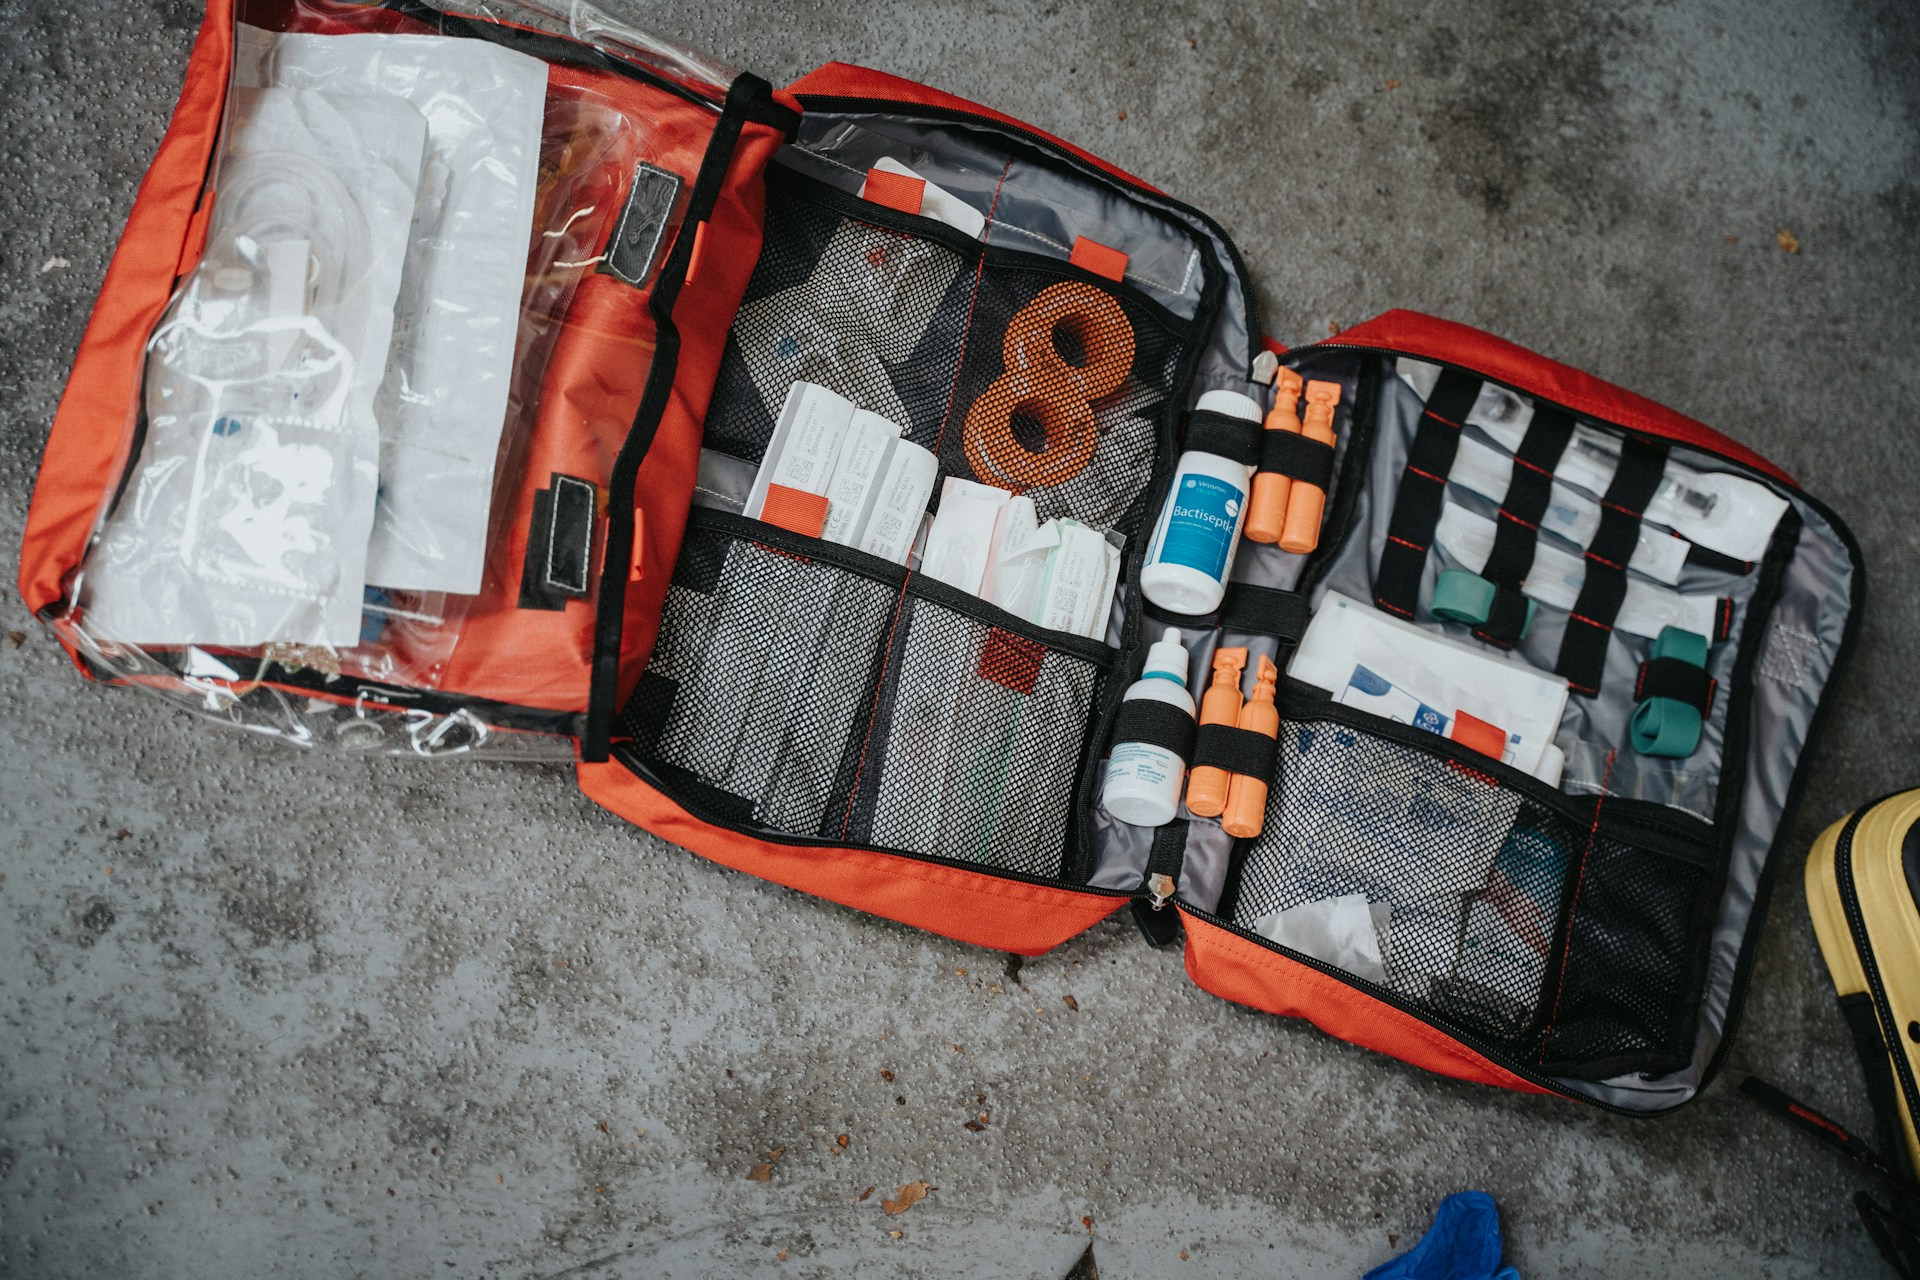
At home, having a well-organized and stocked first aid kit is essential. Whether you purchase a pre-made kit or assemble one yourself, it should complement your usual home medical supplies. The contents should reflect your medical knowledge and skills.
For “away from home” emergencies, focus on assembling two kits: a compact one for daily carry in a purse, briefcase, or commuter bag, and a slightly larger one for your 72-hour survival bag, commonly known as a Bug Out Bag (BOB). This bag goes by various names, including 72-hour kit, battle box, grab bag, go bag, GOOD bag (get out of Dodge), INCH bag (I’m never coming home), personal emergency relocation kit (PERK), or quick run bag (QRB).
The compact first aid kit should fit in a small zippered pouch. The M2 BASICS 150 Piece First Aid Kit is a solid choice, though it may require some customization. Consider removing the CPR mask, as current guidelines prioritize chest compressions. Instead, add pain relief tablets, sting relief, and other medications such as antacids, antidiarrheals, or cold remedies. Use small ziplock bags to organize multiple doses, labeling them with contents, dates, and standard dosages, or opt for single-use foil packs. A small tube of triple antibiotic ointment is also a valuable addition. Aim to keep this kit under 8 ounces.
Creating your own compact kit offers the flexibility to tailor it to your specific needs and available space. Soft-sided pouches, like pencil cases or small cosmetic bags, are preferable due to their packing flexibility. This kit is intended for everyday carry, not for your survival bag.
Essential items for your compact kit include:
– Various sizes and types of band-aids
– Self-Adherent Cohesive Bandage, also known as Coban™ or Vet Wrap, which can be used to secure gauze pads, wrap sprains, or hold splints
The goal of these kits is to sustain you through the initial 72 hours of an emergency. It’s important not to skimp on quality; even a simple band-aid should be reliable.
For your 72-hour bag, start with a sturdy, lightweight container. Soft pouches are recommended for their packing efficiency. You can find empty marked first aid bags to ensure easy identification during emergencies.
In addition to the compact kit items, include:
– Travel-sized tubes or containers for medications, ensuring you have at least a dozen of each type
– Hemostatic agents like Quick Clot gauze for severe bleeding
– Feminine hygiene products, space permitting
Customize your first aid kit to match your skill level. A full trauma or EMT kit is only useful if you know how to use the items.
Lastly, consider keeping duplicate first aid kits in each vehicle you own. This ensures you have access to essential supplies even if your Go Bag isn’t with you during an emergency.
Let us know what you think, please share your thoughts in the comments below.

Preparedness
5 Things You Need to Travel Across America Safely and Legally

Traveling across the United States is one of the great freedoms Americans enjoy. Whether you’re driving state to state, flying cross-country, or taking a long road trip, staying safe and fully within the law doesn’t require anything complicated. It just takes preparation, awareness, and a few essentials that every traveler should have in place before they go.
Here are five things you need to travel across America confidently, safely, and legally.
1. Valid Government-Issued Identification
This is non-negotiable.
A valid ID proves who you are and allows you to travel without unnecessary delays or problems.
For most people, this means:
- A valid driver’s license or REAL ID
- A state-issued ID card if you don’t drive
- A valid U.S. passport (especially useful for air travel)
If you’re flying, your ID must meet TSA requirements. If you’re driving, your license must be current and not suspended. Keep your ID easily accessible, but secure.
2. Proof of Legal Residency or Citizenship (If Applicable)
If you are a U.S. citizen, carrying proof such as a passport or passport card adds an extra layer of security during long trips, especially near border states or when flying.
If you are a legal resident or visa holder, you should always carry:
- Your valid visa or green card
- Any required travel documents associated with your status
Having proper documentation protects you from misunderstandings and unnecessary stress.
3. Proper Vehicle Documents (If Driving)
If you’re traveling by car, make sure your paperwork is up to date.
This includes:
- Vehicle registration
- Proof of insurance
- A valid driver’s license
Law enforcement checks are routine and usually brief when paperwork is in order. Keeping documents organized shows responsibility and helps everything go smoothly.
4. A Safe and Legal Travel Plan
You don’t need a strict itinerary, but you should know where you’re going and how you’ll get there.
A smart travel plan includes:
- Knowing your route and major stops
- Booking legal accommodations (hotels, campgrounds, or rentals)
- Understanding basic state laws (speed limits, phone use, toll roads)
Each state has its own rules, and being aware of them helps you avoid fines or problems.
5. Emergency Contacts and Communication
Safety isn’t just about laws — it’s about preparedness.
Carry a charged phone, a car charger or power bank, and a written list of emergency contacts in case technology fails.
It’s also wise to:
- Share your travel plans with someone you trust
- Check weather conditions regularly
- Keep emergency numbers saved and written down
Prepared travelers are calm travelers.
Final Thought
Traveling across America legally and safely doesn’t require fear or special permissions. It requires valid identification, proper documents, respect for local laws, and basic preparedness.
When you travel with everything in order, you’re free to enjoy the journey — not worry about it.
Preparedness
5 Home Items You Can Use for Protection During Emergencies

Emergencies don’t always come with a warning. Power outages, break-ins, severe weather, or unexpected disturbances can leave you needing to protect yourself long enough to get to safety. While the goal is never to engage or escalate, having everyday household items you can rely on for protection can give you valuable time, confidence, and control.
The following items are commonly found in most homes and can be used responsibly to create distance, draw attention, or help you escape when needed.
- A Heavy-Duty Flashlight
A solid flashlight is one of the most useful protective tools in an emergency.
A bright beam can temporarily disorient someone in a dark room, allowing you to move away or secure a door. It also helps you navigate safely during power outages, avoid hazards, and signal for help.
Keep one near your bed and another in a main living area. Choose LED models with long battery life.
- A Fire Extinguisher
Most people think of fire extinguishers only for fires, but they also offer protection in other emergencies.
A quick spray creates a cloud that can block vision and breathing for a moment, giving you a chance to escape. The extinguisher itself is also sturdy enough to hold defensively while you move away from danger.
Every home should have at least one accessible extinguisher.
- A Sturdy Walking Cane or Umbrella
A cane or strong umbrella provides reach and distance without requiring physical strength.
These items can be used to keep space between you and a threat, block movement, or help you maneuver safely toward an exit. Many people already keep one near a door or bedroom, making it easy to grab quickly.
- A Loud Personal Alarm or Whistle
Sound is a powerful protective tool.
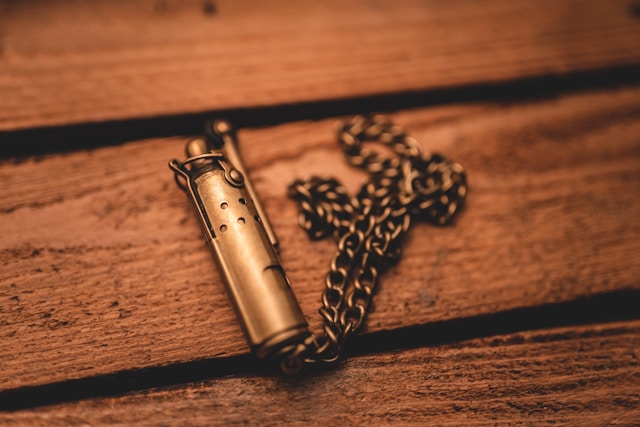
A personal alarm or whistle can startle an intruder, alert neighbors, and draw immediate attention to your situation. It’s especially helpful if shouting isn’t an option or if you live in close quarters like an apartment or townhome.
These devices are inexpensive, simple to use, and effective.
- A Doorstop or Heavy Furniture
Creating a barrier can be more effective than any object in your hands.
A basic rubber doorstop can slow or prevent a door from opening, buying you time to call for help or escape. Heavy furniture, when used carefully, can block entry points and turn a room into a temporary safe space.
Final Reminder
Protection during emergencies is about time and distance, not confrontation.
Use everyday items only as a last resort and only to help you reach safety or get help.
Preparation doesn’t mean fear — it means being ready to act calmly when it matters most.
Off The Grid
10 Emergency Medical Supplies to Carry for Survival During an Apocalypse

In any large-scale collapse scenario, medical help may be delayed or unavailable entirely. Hospitals may be overwhelmed, pharmacies closed, and emergency responders unable to reach you. In those moments, having the right medical supplies can mean the difference between a manageable injury and a life-threatening situation. A survival medical kit should focus on stopping bleeding, preventing infection, managing pain, and keeping you functional.
Here are ten critical medical supplies you should carry for survival during an apocalypse or any extreme emergency.
1. Tourniquet
Severe bleeding is one of the fastest ways people die from injuries. A proper tourniquet allows you to stop life-threatening blood loss from arms or legs within seconds. This is one of the most important items in any survival medical kit.
2. Compression Bandages
Compression bandages apply steady pressure to wounds and help control bleeding. They are especially useful for deep cuts, punctures, and traumatic injuries. They also help secure wound dressings in place when movement is unavoidable.
3. Sterile Gauze Pads
Gauze is essential for cleaning wounds, absorbing blood, and protecting injuries from dirt and bacteria. Carry multiple sizes so you can handle both small cuts and larger wounds. Clean wounds heal faster and are far less likely to become infected.
4. Antiseptic Wipes or Solution
Infections become deadly quickly when antibiotics are unavailable. Antiseptic wipes, iodine swabs, or antiseptic spray help kill bacteria before it enters the body. Cleaning a wound properly is just as important as stopping the bleeding.
5. Medical Tape
Medical tape secures bandages, gauze, and splints. It is lightweight, versatile, and far more reliable than improvised solutions. Tape can also be used to reinforce blisters and prevent minor injuries from getting worse during long travel.
6. Pain Relievers
Pain can limit movement, focus, and decision-making. Over-the-counter pain relievers help reduce inflammation, headaches, muscle pain, and fever. Staying mobile and alert during a survival situation is critical.
7. Antibiotic Ointment
Topical antibiotic ointment adds another layer of protection against infection. Even small cuts can turn serious when sanitation is poor. A small tube takes almost no space and can prevent days or weeks of complications.
8. Tweezers
Tweezers are vital for removing splinters, glass, thorns, ticks, and debris from wounds. Leaving foreign objects embedded in the skin increases infection risk and slows healing. Precision tools matter when conditions are rough.
9. Nitrile Gloves
Protecting yourself while treating injuries is essential. Gloves reduce the spread of bacteria and protect both the injured person and the caregiver. They are especially important when dealing with blood or open wounds.
10. Emergency Medical Guide
In a collapse scenario, you may need to treat injuries you have never dealt with before. A small first-aid or emergency medical guide gives step-by-step instructions when stress makes thinking difficult. Knowledge becomes as valuable as any tool you carry.
Final Thoughts
Medical preparedness is often overlooked in survival planning, yet injuries are more likely than dramatic threats. Cuts, falls, burns, and infections happen fast and worsen without care. Carrying these ten medical supplies gives you the ability to stabilize injuries, prevent infection, and stay functional when professional help is no longer available.
-

 Tactical2 years ago
70-Year-Old Fends Off Intruder with Lead-Powered Message
-

 Tactical2 years ago
Vape Shop Employee Confronts Armed Crooks, Sends Them Running
-

 Off The Grid3 months ago
10 Foods That Could Save Your Life When Grocery Shelves Are Empty
-

 Preparedness2 months ago
5 Things You Should Always Carry During a Winter Storm
-

 Preparedness1 year ago
Ex-Ballerina’s Guilty Verdict Sends Tremors Through Gun-Owner Community
-

 Nature and Wildlife3 months ago
10 Survival Skills You Should Learn Before You Need Them
-

 Preparedness1 year ago
Good Samaritan Saves Trooper in Harrowing Interstate Confrontation
-

 Preparedness7 months ago
How Much Gasoline Should You Store for Emergencies?