Off The Grid
A Primer on Tactical Hand Signals for Team Communication

As Jack Morgan, I’ve found myself in more tight spots than I care to remember. From navigating treacherous mountain trails to evading predators in the wild, one thing has always remained crucial – communication. When words fail or simply aren’t an option, tactical hand signals can mean the difference between success and disaster. Today, I’m going to walk you through a primer on tactical hand signals for team communication.
First off, tactical hand signals are a type of non-verbal communication used primarily in military and law enforcement operations. However, they’re also incredibly useful in survival situations, especially when silence is paramount or when distance or environmental conditions make verbal communication impossible. They’re simple, effective, and once learned, they’re never forgotten.
Let’s start with the basics. The “Stop” signal is made by raising a clenched fist. This is paramount when you need your team to halt immediately due to impending danger or a change in plans. Conversely, the “Go” or “Move Forward” signal is given by waving your hand, fingers extended, over your shoulder towards your back.
Now, suppose you want to point out a specific direction. In that case, you use the “Direction or Point of Interest” signal. Extend your arm and point in the direction you want your team to focus on. If you want to signal a general direction or area, sweep your arm in that direction.
When you need to signal your team to get down or take cover, place your arm horizontally in front of your body and move it downward. This could be crucial when there’s incoming fire or a predator nearby.
The “Rally” or “Regroup” signal is essential for maintaining team cohesion. Raise your arm and make circular motions with your hand to signal your team to come to your position. This is particularly useful when you need to regroup after a sudden event or change in plans.
If you’re leading a team through the wilderness and want them to spread out to cover more ground or reduce the risk of detection, use the “Spread Out” or “Disperse” signal. Extend your arms out to the sides and move them outward.
In survival situations, you may need to signal your team to watch for danger or to be on high alert. For this, use the “Watch” or “Look” signal. Point to your eyes with two fingers and then point in the direction you want your team to observe.
Finally, there’s the “Sitrep” or “Status Report” signal. Tap your chest with your hand to request a status update from your team. This can be used to check on your team’s condition or to request a report on a specific situation.
Remember, the effectiveness of these signals relies heavily on your team’s understanding and practice. Before you head out on any expedition, take the time to teach these signals to your team and practice until they become second nature.
Tactical hand signals are a simple yet powerful tool in your survival toolkit. They can help maintain silence when necessary, overcome verbal communication barriers, and keep your team coordinated and informed. Whether you’re in a dense forest, a noisy urban environment, or facing a survival situation, these signals could make the difference between confusion and cohesion, between failure and success.
So, there you have it, folks – a primer on tactical hand signals for team communication. Remember, the wilderness is unforgiving, but with the right tools and knowledge, you can face any challenge it throws your way. Practice these signals, teach them to your team, and stay safe out there. Until next time, this is Jack Morgan, signing off.

In any large-scale collapse scenario, medical help may be delayed or unavailable entirely. Hospitals may be overwhelmed, pharmacies closed, and emergency responders unable to reach you. In those moments, having the right medical supplies can mean the difference between a manageable injury and a life-threatening situation. A survival medical kit should focus on stopping bleeding, preventing infection, managing pain, and keeping you functional.
Here are ten critical medical supplies you should carry for survival during an apocalypse or any extreme emergency.
1. Tourniquet
Severe bleeding is one of the fastest ways people die from injuries. A proper tourniquet allows you to stop life-threatening blood loss from arms or legs within seconds. This is one of the most important items in any survival medical kit.
2. Compression Bandages
Compression bandages apply steady pressure to wounds and help control bleeding. They are especially useful for deep cuts, punctures, and traumatic injuries. They also help secure wound dressings in place when movement is unavoidable.
3. Sterile Gauze Pads
Gauze is essential for cleaning wounds, absorbing blood, and protecting injuries from dirt and bacteria. Carry multiple sizes so you can handle both small cuts and larger wounds. Clean wounds heal faster and are far less likely to become infected.
4. Antiseptic Wipes or Solution
Infections become deadly quickly when antibiotics are unavailable. Antiseptic wipes, iodine swabs, or antiseptic spray help kill bacteria before it enters the body. Cleaning a wound properly is just as important as stopping the bleeding.
5. Medical Tape
Medical tape secures bandages, gauze, and splints. It is lightweight, versatile, and far more reliable than improvised solutions. Tape can also be used to reinforce blisters and prevent minor injuries from getting worse during long travel.
6. Pain Relievers
Pain can limit movement, focus, and decision-making. Over-the-counter pain relievers help reduce inflammation, headaches, muscle pain, and fever. Staying mobile and alert during a survival situation is critical.
7. Antibiotic Ointment
Topical antibiotic ointment adds another layer of protection against infection. Even small cuts can turn serious when sanitation is poor. A small tube takes almost no space and can prevent days or weeks of complications.
8. Tweezers
Tweezers are vital for removing splinters, glass, thorns, ticks, and debris from wounds. Leaving foreign objects embedded in the skin increases infection risk and slows healing. Precision tools matter when conditions are rough.
9. Nitrile Gloves
Protecting yourself while treating injuries is essential. Gloves reduce the spread of bacteria and protect both the injured person and the caregiver. They are especially important when dealing with blood or open wounds.
10. Emergency Medical Guide
In a collapse scenario, you may need to treat injuries you have never dealt with before. A small first-aid or emergency medical guide gives step-by-step instructions when stress makes thinking difficult. Knowledge becomes as valuable as any tool you carry.
Final Thoughts
Medical preparedness is often overlooked in survival planning, yet injuries are more likely than dramatic threats. Cuts, falls, burns, and infections happen fast and worsen without care. Carrying these ten medical supplies gives you the ability to stabilize injuries, prevent infection, and stay functional when professional help is no longer available.
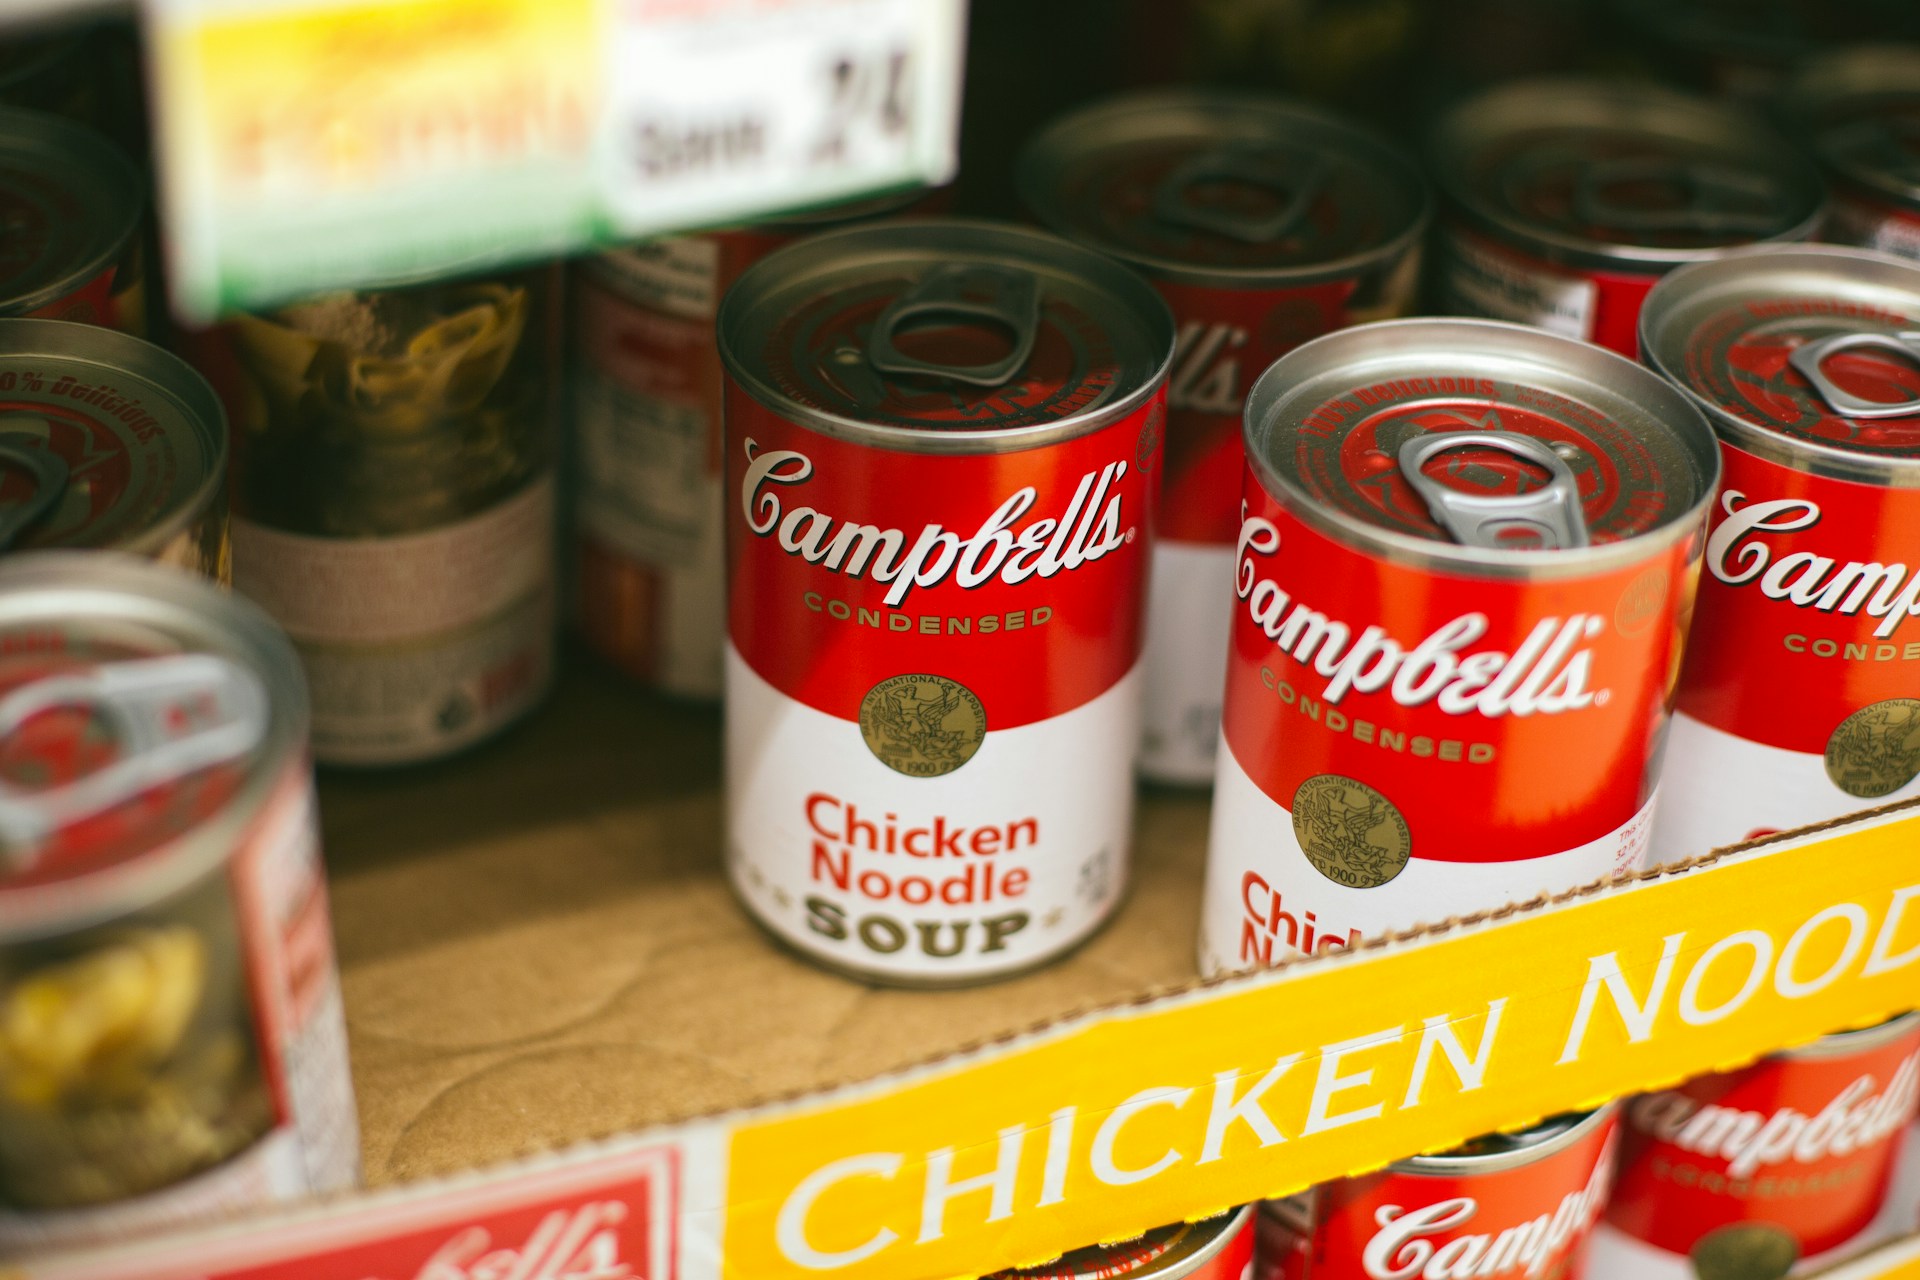
Canned food has been a survival staple for generations, and for good reason. When emergencies disrupt normal life, access to fresh food can disappear quickly. Power outages, storms, supply chain problems, and evacuations often leave people relying on what they already have at home. Storing canned food is one of the simplest and most reliable ways to prepare for the unexpected.
Here are five clear reasons canned food deserves a permanent place in any survival plan.
1. Long Shelf Life You Can Count On
One of the biggest advantages of canned food is how long it lasts. Most canned goods stay safe and edible for years when stored in a cool, dry place. This makes them ideal for emergencies that last longer than expected. Unlike fresh or frozen foods, canned items do not spoil quickly and do not require constant attention.
2. No Refrigeration or Electricity Needed
When the power goes out, refrigerators and freezers become useless. Canned food eliminates that risk entirely. You can store it safely at room temperature and eat it without worrying about spoilage. This makes canned food especially valuable during blackouts, winter storms, and heat waves.
3. Ready to Eat With Little or No Preparation
Many canned foods can be eaten straight from the can. Beans, vegetables, soups, meats, and fruits require no cooking, which is critical when fuel is limited or unsafe to use. Even if you cannot heat food, canned items still provide calories, hydration, and nutrients when your body needs them most.
4. Balanced Nutrition During Stressful Times
Survival is not just about calories. Your body needs protein, carbohydrates, fats, vitamins, and minerals to stay strong and alert. Canned foods make it easy to store a balanced mix of nutrition. Beans provide protein and fiber. Canned meats supply protein and fats. Vegetables and fruits offer vitamins that help prevent fatigue and illness during prolonged emergencies.
5. Affordable and Easy to Rotate
Canned food is one of the most budget-friendly survival options available. You can build a stockpile slowly by adding a few extra cans during regular grocery trips. Because canned foods are part of everyday meals, rotating them is simple. Use the oldest cans first and replace them with new ones. This keeps your supply fresh without waste.
Final Thoughts
Storing canned food is not about fear or extreme prepping. It is about common sense. These foods last a long time, require no power, are easy to prepare, and provide dependable nutrition when normal systems fail. A small, well-chosen supply of canned food can carry you through storms, outages, and unexpected disruptions with far less stress.
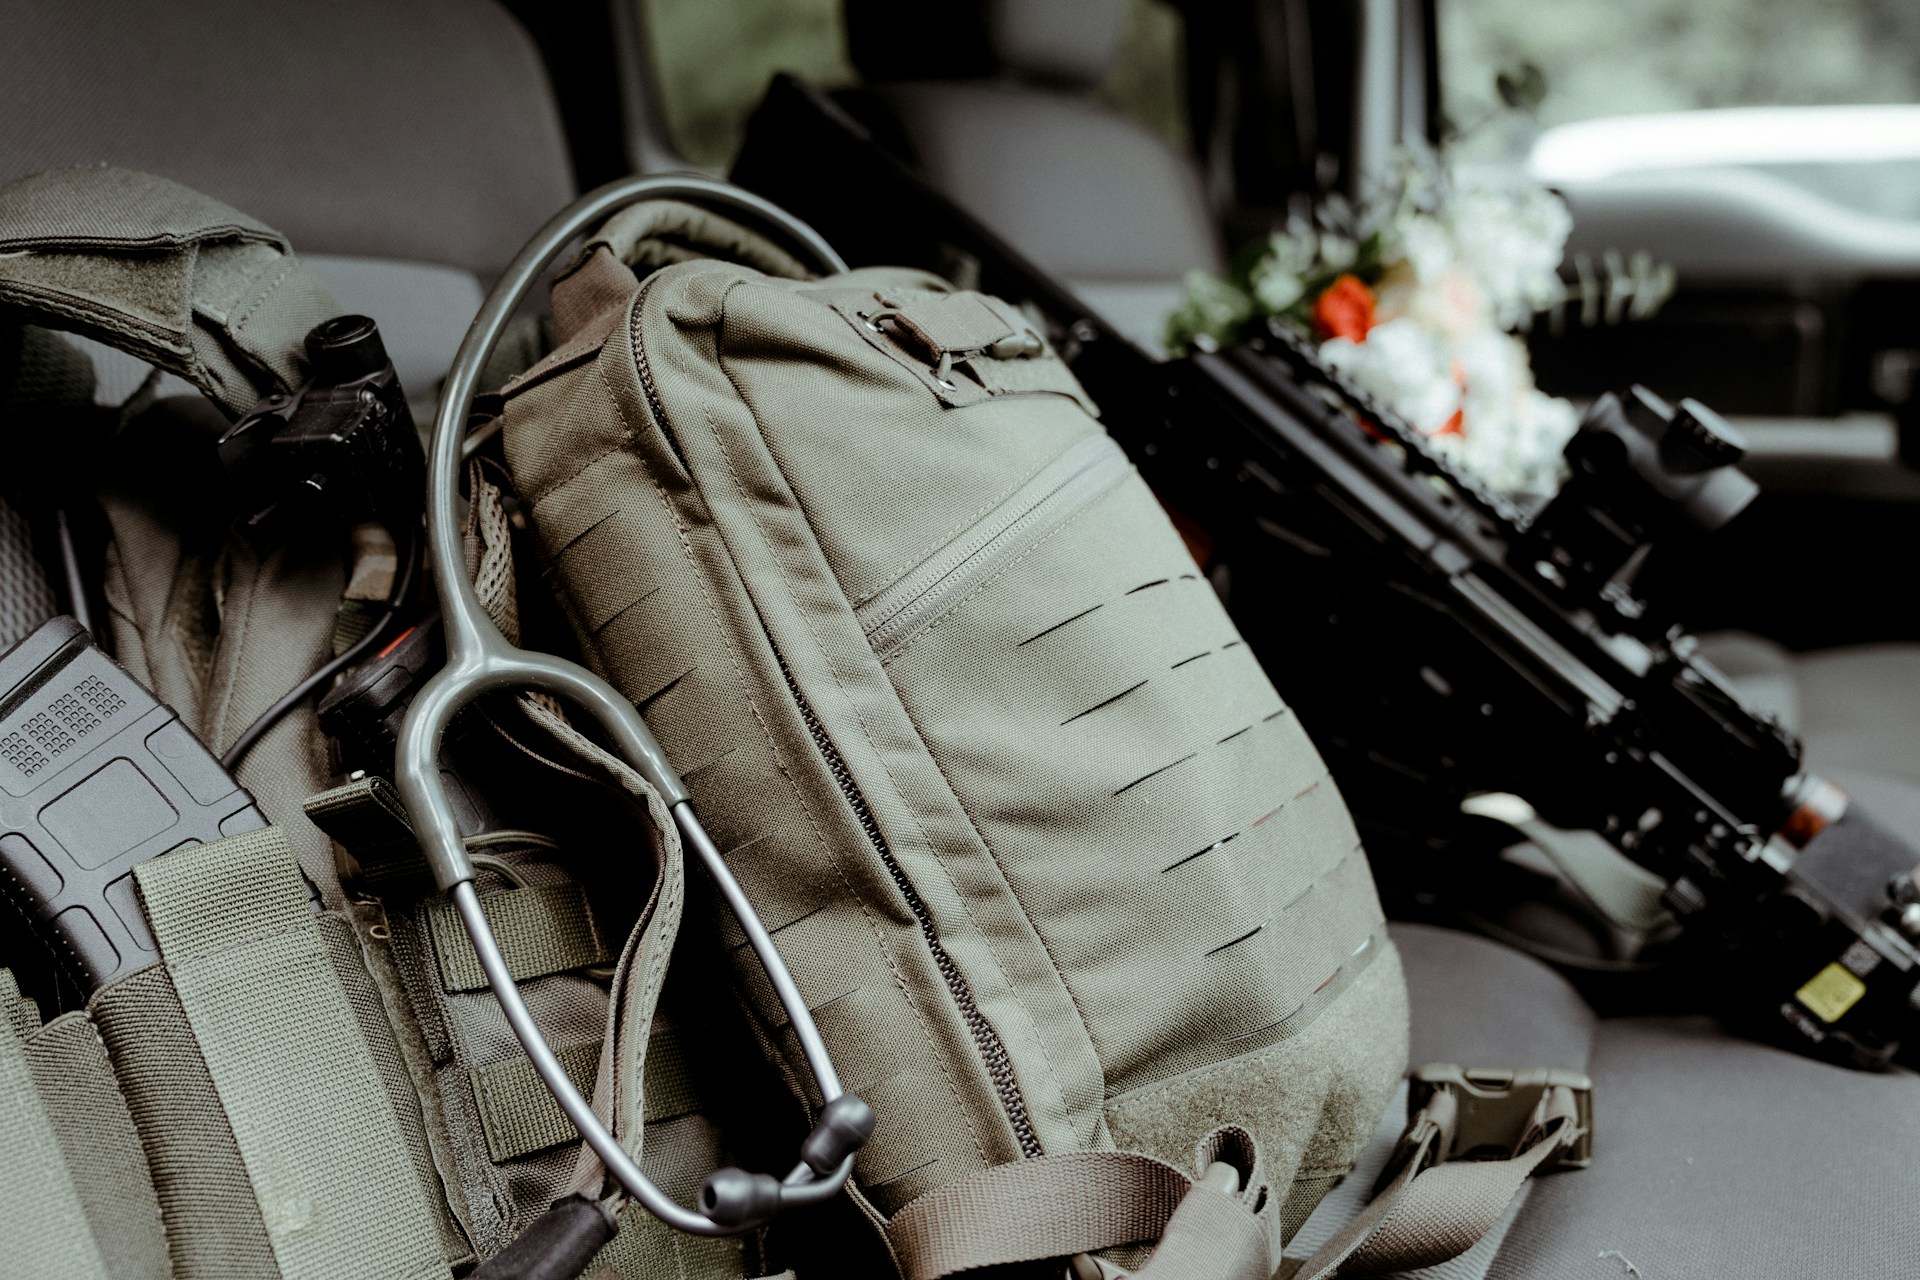
A get-home bag is one of the most overlooked but most valuable pieces of emergency gear you can own. It is not designed to help you survive for days in the wilderness. Instead, its purpose is simple. It helps you get home safely during an unexpected crisis. Whether you are stuck at work during a blackout, stranded on the road in a storm, or forced to walk when transportation shuts down, a well-packed get-home bag can make the difference between stress and confidence.
Here are ten essential items to include so you can get home quickly and safely no matter what happens.
1. Water Bottle or Hydration Pouch
Staying hydrated is essential when you may need to walk long distances. A durable water bottle or collapsible hydration pouch works well because you can fill it anywhere before starting your journey. Dehydration slows reaction time and drains energy, so water should always be at the top of your list.
2. Energy Bars or Quick Snacks
You need steady energy to stay focused. High-calorie snacks like protein bars, trail mix, or peanut butter packets keep your body fueled without taking up space. They require no cooking and last a long time in any weather.
3. Compact Flashlight
A small LED flashlight helps you navigate safely if darkness hits. Power outages, tunnels, garages, and unlit streets can become dangerous without proper light. Pack a lightweight flashlight and keep it accessible.
4. Spare Batteries
A flashlight or portable radio is useless without backup power. Include a small set of extra batteries to keep your gear running for hours. Store them in a plastic bag so moisture cannot reach them.
5. Multi-Tool
A compact multi-tool gives you pliers, a blade, screwdrivers, scissors, and other essentials in a single device. It is one of the most versatile items you can carry and handles small repairs, cutting tasks, and emergency adjustments with ease.
6. Emergency Mylar Blanket
A mylar blanket helps you retain body heat when temperatures drop. It weighs almost nothing and folds into the size of a wallet. Whether you are dealing with cold weather or unexpected snow, this simple item prevents heat loss and keeps you more comfortable.
7. Small First-Aid Kit
Minor injuries can become major setbacks during an emergency walk home. A basic kit with bandages, antiseptic wipes, gauze, adhesive tape, and pain relievers can prevent infections or make a long walk safer and less painful.
8. Map of Your Area
Do not rely only on your phone. Battery failure, poor signal, or damaged devices can leave you without navigation. A simple paper map of your local routes allows you to find alternate paths home if roads or bridges are blocked.
9. Lightweight Rain Poncho
Weather can change without warning. A poncho keeps you dry and warm, prevents hypothermia, and protects your gear. Wet clothing quickly drains your energy and slows your movement, so staying dry is a priority.
10. Cash
Digital payments fail during power outages or network problems. Small bills can help you buy water, food, or transportation when cards do not work. Even a modest amount of cash gives you options that many people forget about in emergencies.
Final Thoughts
A get-home bag is not a luxury. It is a simple, practical tool that protects you when the unexpected happens. These ten items fit easily into a small backpack and can get you home safely through power failures, storms, traffic shutdowns, or regional emergencies. The goal is not to carry everything. The goal is to carry only what matters most. Once you assemble your bag, keep it in your car or workplace so you are ready at a moment’s notice.
-

 Off The Grid7 months ago
10 Foods That Could Save Your Life When Grocery Shelves Are Empty
-

 Tactical2 years ago
70-Year-Old Fends Off Intruder with Lead-Powered Message
-
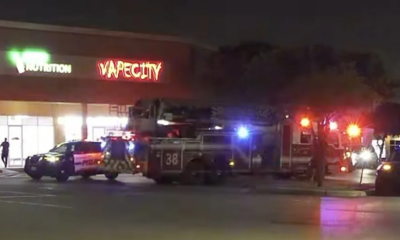
 Tactical2 years ago
Vape Shop Employee Confronts Armed Crooks, Sends Them Running
-

 Preparedness6 months ago
5 Things You Should Always Carry During a Winter Storm
-

 Nature and Wildlife7 months ago
10 Survival Skills You Should Learn Before You Need Them
-

 Preparedness2 years ago
Ex-Ballerina’s Guilty Verdict Sends Tremors Through Gun-Owner Community
-
 Preparedness6 months ago
Smart Person’s Checklist: 10 Things You’ll Wish You Had When Disaster Strikes
-
 Preparedness12 months ago
Discover Free Land in These Three Surprising States